The problem is compliance.
Compliance means that visitors of your website can consume it. For instance, for visitors with vision impairments, it is important to have alternative text with images so that screen readers can describe the image appropriately. For users that are hard of hearing and Deaf, videos should provide closed captioning.
Outside of education, compliance is a good thing to do. It makes your content more universally accepted.
In the scope of education, however, this failure to comply could result in a lawsuit.
Happily, it is very easy to add captions to videos. There are free resources that make the job easy to do (Chromebook friendly, too!), and it is very simple to do.
Before we begin, check out this quick video (less than 40 seconds) with closed captioning (to enable the closed captioning, click on the "CC" button in the bottom right).
This video was made with the Screencastify extension (which automatically uploads to YouTube - check out my tutorial) and then captioned with the video editing tools in YouTube (did you know you can edit video right in YouTube?).
Here's how to do it:
STEP 1:
Go to YouTube after uploading a video. In the upper right of the screen, click on the gear icon and choose "Video Manager".
 |
| Betcha didn't even know this was here. |
STEP 2:
Choose a video, and use the drop-down next to "Edit" to select "Captions". By the way, this is one of the ways to access the editing features (like video editor, enhancements, and music).
Choose a video, and use the drop-down next to "Edit" to select "Captions". By the way, this is one of the ways to access the editing features (like video editor, enhancements, and music).
 |
| And I bet you really didn't know this was here. |
STEP 3:
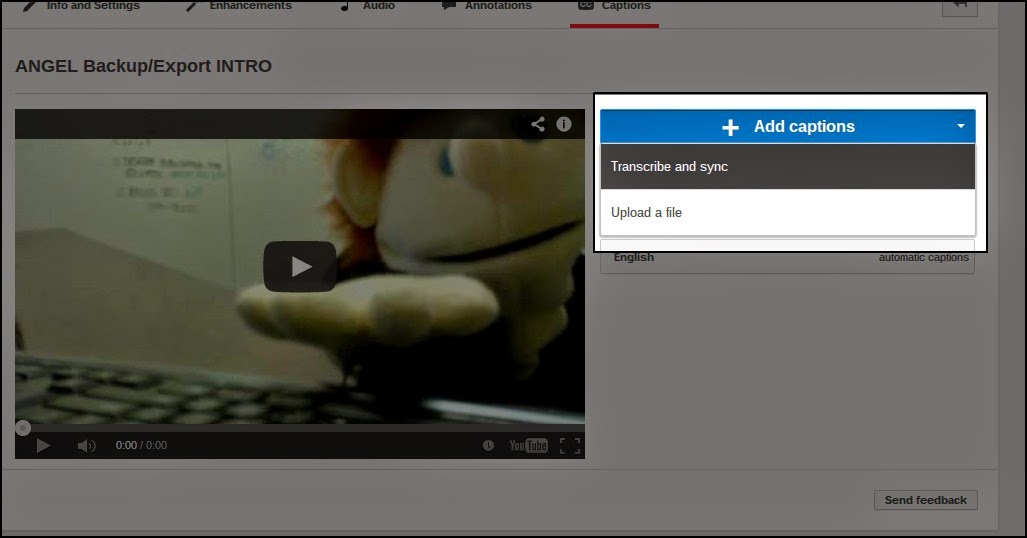
Click on the "Add Captions" button, and choose "Transcribe and sync".
Click on the "Add Captions" button, and choose "Transcribe and sync".
.png) |
This part of the process is very enjoyable if you like hearing yourself talk |
STEP 5:
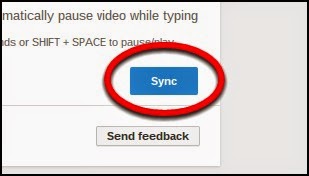
Dude. Hit the "Sync" button.
 |
| 'N Sync. |
STEP 6:
Check that the captions are synced properly. Once YouTube is done crunching the captions, you can go back in and take a peek at them. Sometimes you'll need to manually tweak the time stamps (for when the text should appear or disappear).
Check that the captions are synced properly. Once YouTube is done crunching the captions, you can go back in and take a peek at them. Sometimes you'll need to manually tweak the time stamps (for when the text should appear or disappear).
 |
| Transcribing puppets is mentally taxing. They make up a lot of words. |
So. That's it. If you host your video in YouTube, you're done. I usually plan on taking about three minutes to transcribe and tweak for every one minute of actual speaking. The process is very simple. And the return on your investment is immeasurable.
If you want to read more nerdy stuff (about Camtasia, Ensemble, and converting .srt to .dxfp), read on. Otherwise, see you around.
I actually do most of my captioning in Camtasia (and the process is strikingly similar). Actually, one workflow change that I make is having the software "convert" my voice to text (there are a lot of errors, despite substantial calibration) and then fixing the errors. Both Camtasia and YouTube do this. And both let you export the closed caption tracks as .srt files, which can be converted to .dxfp using this free service at 3playmedia.com, and then uploaded into Ensemble (if you host video content there, you'll need to convert to .dfxp and change the extension to .xml). Ensemble only accepts .dxfp as an .xml file, so the conversion is necessary.
Ok. I'm really done nerding out now.


I was unaware that YouTube provides functionality to edit/add captions. I agree that using the "alt" attribute in IMG tags is also very, very important. If you have access to a screenreader, it might be worthwhile to try it out in order to see how it functions, particularly with your website.
ReplyDelete